Roughening Bit

Scarifies smooth holes to allow for better adhesion.

OVERVIEW

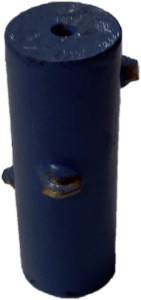
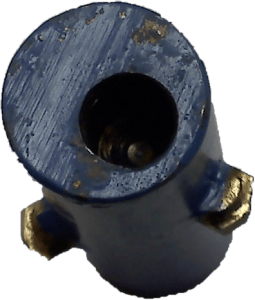
Below are before and after example of how our roughening bit scarifies smooth holes to allow for better adhesion.

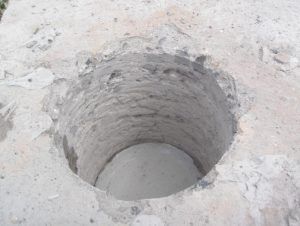
Image below shows a smooth hole before roughening bit. Poor adhesion.

Smooth hole before roughening bit. Poor adhesion.

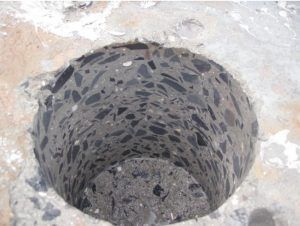
Image below shows a rough hole after roughening bit used. Better adhesion.

Rough hole after roughening bit used. Better adhesion.

INSTRUCTIONS

The following guidelines should be followed:

  • For holes less than two inches, chuck a 3/8-16 threaded rod into a variable speed drill.
  • For holes larger than two inches, chuck a 1/2-13 threaded rod into a variable speed drill.
  • Insert bit into the hole. Start the bit rotation very slow. Gradually increase the RPM until the bit starts to bounce off the walls of the hole. Check hole wall for proper roughness. The operator should assess the proper speed. All concrete strengths, coarse aggregate, etc. are different.
  • Never spin the bit in reverse for any reason, you will lose the drill head in the hole.
  • The bit is designed to bounce around the interior of the hole. If it does not bounce, the bit will not work. The rod is threaded into the bit purposefully off center. This appears to be incorrect, but is vital to the proper function of the bit.
  • Subsequent to the above, all concrete chips and dust left in the hole as a result of the roughening procedure must be removed. The hole shall be cleaned in strict accordance with the grout manufacturer’s recommendations prior to the application of the grout.